You’ve done it! All your hard work setting up the spawning tank, conditioning the parents, and choosing the ideal mates has paid off and now you have a happy, healthy clutch of wriggly little fry! Now what?
1. Another Life
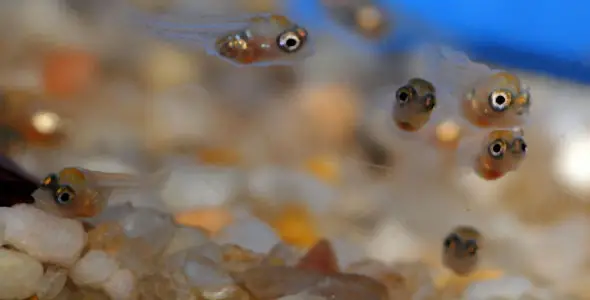
When fry hatch from their eggs, they may look a little… deformed, and they certainly can’t swim. Don’t be alarmed however as you aren’t looking at a cloud of handicapped baby fish. When they first hatch they are still attached to their yolk and they will continue to eat this for a few days. Once the egg sac is gone they will begin to look for more grown up food.
2. One Fishes Family
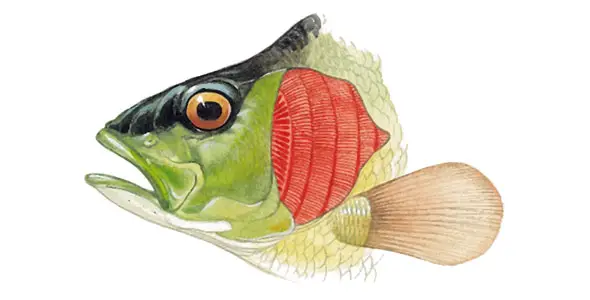
Mouth-brooders must be kept with their fry. These fish will need to be kept in a rearing tank that has sufficient aquascaping. In addition, three of the four tank walls should be covered in black paper. You don’t have to do much other than feed these fish and fry and keep the tank clean. The parents, however, will shuttle the fry back and forth in the tank and keep them fanned with cool, oxygenated water at night. Mouth-brooders are certainly some of the most interesting parents to watch.
3. Round the Table
Feeding fry is probably the most challenging part of raising them. Depending on their size, what they can and cannot eat affects the food that they can be fed. For example, most live-bearing fry have mouths large enough to eat powdered flake food. Bettas, however, have mouths so tiny that even powdered flake food is too small and they must be fed something called Infusorians. As your fry grow, their nutritional needs will change because they will grow larger.
It is best to begin feeding all your fry Infusorians. These are small cultures that you can cultivate at home. Boil some tap water then let it cool to room temperature. Add the water to a clean jar and then add some bruised lettuce or banana. Do not place a lid on the jar. The water will be cloudy at first and may smell. Eventually the smell will become sweeter and the water will clear up. Once the water looks completely clear, you can scoop the Infusoria off the top of the water and add it to your tank. BE CAREFUL! Do not add plant matter from the jar to the tank.
Brine shrimp are the next stop on the fry’s dietary journey. Freshly hatched brine shrimp are best for small fry. Brine shrimp are also easy to cultivate at home and are a suitable addition to the diet of your adult fish as well.
Powdered fish flakes should only be used as a fallback for feeding as they are not as nutritious for the fry. Take the flakes and place them in a plastic sandwich bag. Remove all the air and crumble the flakes between your fingers until they have powdered. Then take a toothpick, wet the end, and wipe with your finger so it is only damp. Cover the damp tip in powder and submerge this in the water of your rearing tank for the fry to eat.
Feed your fry several times a day on a fixed feeding schedule. This will help them grow quickly and in an optimum fashion.
4. As the Water Turns
Keeping your tank clean and your water in peak condition is a critically important part of rearing fry. Regular vacuuming and water changes are an absolute MUST as the fry are incredibly delicate. Be sure you use a sponge filter as fry are notorious for getting sucked up into less delicate structures and they will receive extra nutrition from the bacteria built up on the sponge. Known for their curiosity, the fry are also very likely to get sucked up into your gravel vacuum, so it is important that you use a clean bucket that you can easily scoop them out of when they get sucked up. Water should be changed daily and extreme care should be taken when adding the new water as fry are extremely sensitive to changes in water chemistry.
5. Another World
Finally the day will come when it is time to release your fry back into the large tank or to sell them to new owners. Be sure, before you do this, that you remove any fish that are deformed or inferior. It may seem harsh and heartless, but culling is an important part of any breeding program as it removes undesirable genes from the gene pool.


